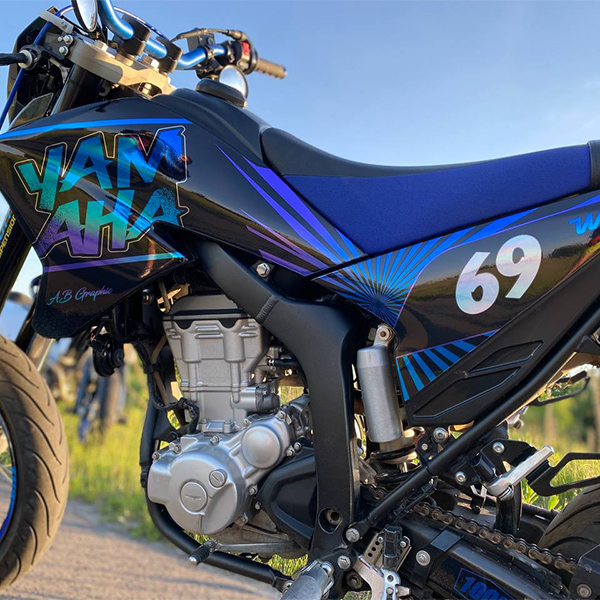
 Tutorial: Installing Motorcycle Stickers Step by Step
Apr .12.2024
Are you gearing up to adorn your ride with some badass motorcycle stickers? I've got you covered with these simple steps that will walk you through the process of giving your motorcycle a whole new vibe. So buckle up as I guide you through your fresh self
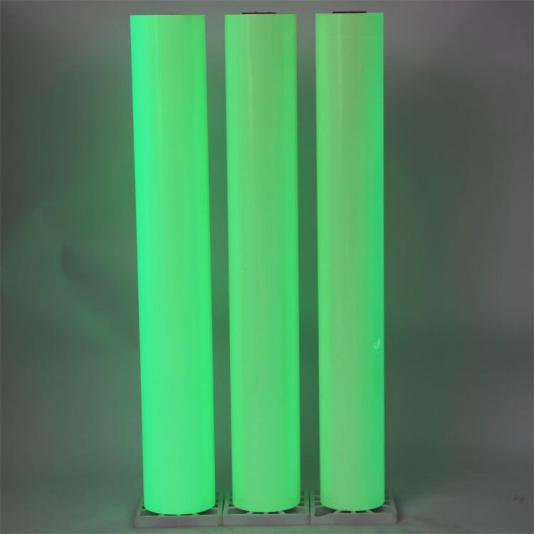
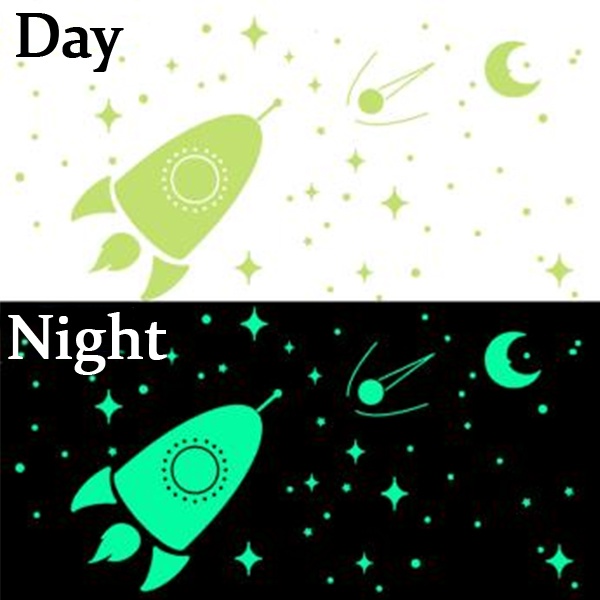
 How to Choose the Best Motorcycle Stickers for Enhanced Safety
Apr .07.2024
Ensuring the safety of motorcyclists stands as an eminent priority, with a formidable strategy being the integration of reflective decals to amplify visibility amidst bustling thoroughfares. These enhancements not only infuse a touch of sophistication to
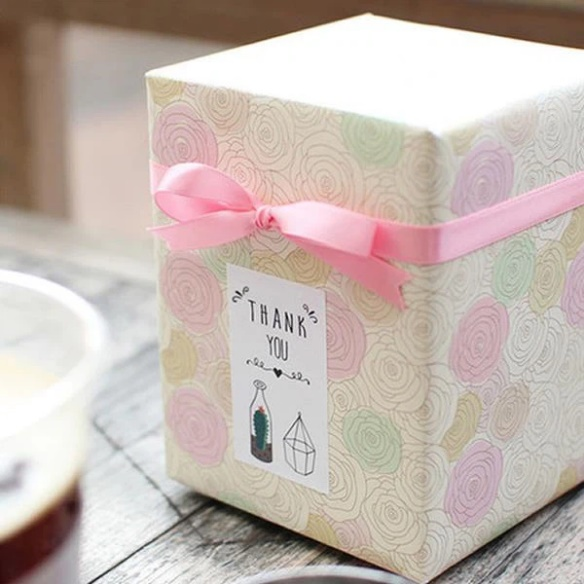 Who Can Benefit from Using Washable Label Products in Everyday Life
Mar .29.2024
In todays busy environment, organisation and time management can make or break surviving the daily tasks that exist in the modern lifestyle. Many may not realise that using washable label products is an effective tool to help people organise their spaces
 Tutorial: Installing Motorcycle Stickers Step by Step
 How to Choose the Best Motorcycle Stickers for Enhanced Safety
 Who Can Benefit from Using Washable Label Products in Everyday Life