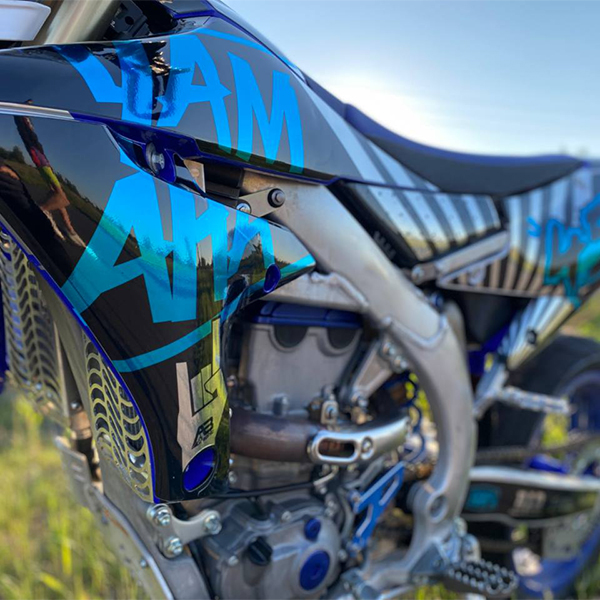
Are you gearing up to adorn your ride with some badass motorcycle stickers? I've got you covered with these simple steps that will walk you through the process of giving your motorcycle a whole new vibe. So buckle up as I guide you through your fresh self-designed motorcycle sticker package, and set you cruising on the roads with a brand new personality. Whether you're new to motorcycles or a seasoned rider with a penchant for bikes, motorcycle stickers are an excellent way to further personalize your ride. Test out some fantastic motorcycle stickers, and prepare to be amazed at the transformation of your bike! Let's dive in!
Step 1: Gather Your Gear
Before you begin, make sure you have everything you need close at hand: motorcycle stickers (of course!), rubbing alcohol, a clean cloth, a squeegee or credit card, and a pair of scissors for trimming.
Step 2: Prep the Surface
Long before you start applying motorcycle stickers, ensure the surface is clean. Use rubbing alcohol and a clean cloth to thoroughly clean the area where the stickers will be placed, removing any dust, grease, or wax that could hinder adhesion.
Step 3: Strategize the Placement
The fun part is planning. Decide how many stickers to add to your helmet and where to place them. Experiment with different arrangements until you're satisfied, then apply the stickers. Use masking tape to temporarily secure the stickers in place as you perfect the positioning.
Step 4: Peel and Apply
Once you've decided on the sticker placement, it's time to stick them on your bike. Carefully peel off the backing, starting from one corner, and apply the sticker to your motorcycle's surface, pressing it down gradually until it's firmly in place.
Step 5: Banish Air Bubbles
During sticker application, you may encounter air bubbles beneath the surface. Use your squeegee or credit card to smooth them out, starting from the center of the sticker and working your way outward.
Step 6: Trim the Excess
If the stickers extend beyond the edges, use scissors to trim any excess material close to the edges for a clean finish.
Step 7: Admire Your Handiwork
Once all the motorcycle stickers are in place, step back and admire your work. Inspect for any missed flaws or air bubbles, and address them as needed to ensure a polished result.
Step 8: Allow for Adherence
Allow the motorcycle stickers to set for at least 24 hours to ensure they adhere firmly to the surface. Avoid exposing them to water or harsh weather conditions during this time.
Voilà – your bike is now as unique as you are! With a little persistence and attention to detail, installing motorcycle stickers becomes a gratifying DIY activity for every motorcyclist's toolkit. Get creative, hit the road, and ride safe!

 How to Choose the Best Motorcycle Stickers for Enhanced Safety
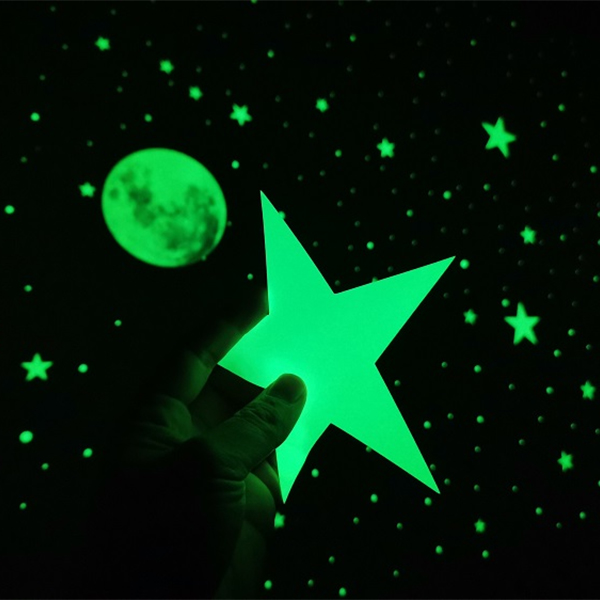 Tips and Tricks for Working with Glow in the Dark Vinyl
 Who Can Benefit from Using Washable Label Products in Everyday Life